
Rustic Garlic Herb Focaccia
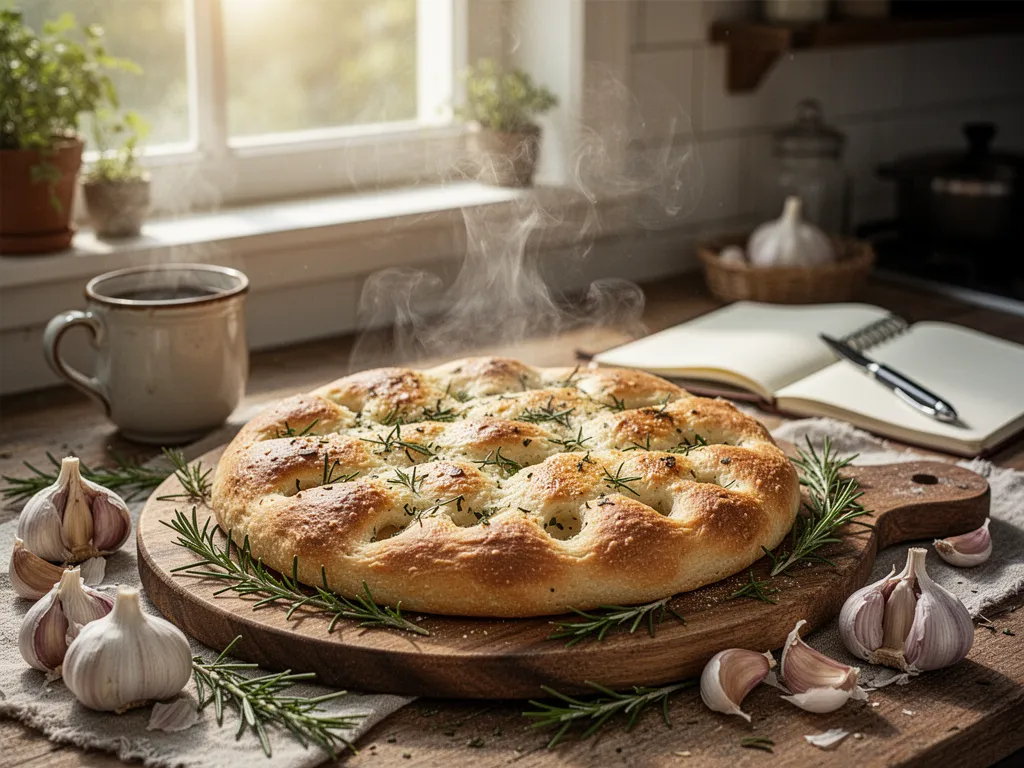
There's something magical about the moment you pull a perfectly dimpled focaccia from the oven. That irresistible aroma of roasted garlic and herbs wafting through your kitchen, those golden-brown peaks and valleys glistening with olive oil... If you've ever dreamed of creating bakery-quality focaccia with crispy edges and a pillowy center, you're in the right place. This foolproof recipe combines the rustic charm of traditional Italian focaccia with a modern twist that'll make you feel like a master baker.
Why This Smart Gourmet Works Perfectly
The secret lies in our overnight fermentation method. This slow rise develops complex flavors and creates those signature air pockets that make focaccia so irresistible. Plus, we're using a high-hydration dough (75% water to flour ratio) that guarantees a tender, bouncy crumb every single time.
Essential Equipment Summary
- Stand mixer with dough hook
- 13x9-inch metal baking pan
- Digital kitchen scale
- Large mixing bowl
- Plastic wrap or kitchen towel
Ingredients You'll Need
- Bread flour - 500g (4 cups)
- Active dry yeast - 2¼ teaspoons
- Warm water - 375ml (1½ cups)
- Extra virgin olive oil - 60ml (¼ cup), plus more for drizzling
- Sea salt - 10g (2 teaspoons)
- Fresh rosemary - 2 tablespoons, chopped
- Fresh thyme - 1 tablespoon
- Garlic cloves - 6, roasted
- Flaky sea salt - For topping
Step-by-Step Instructions
Step 1: Prep and Prime
Mix your yeast with warm water (about 110°F) and let it bloom for 5 minutes until foamy. Meanwhile, in your stand mixer bowl, combine the flour and salt. For the roasted garlic, wrap the whole head in foil with a drizzle of olive oil and roast at 400°F for 30-40 minutes until soft and golden.
Step 2: The Cooking Process
Add the bloomed yeast mixture and ¼ cup olive oil to your flour. Mix on low speed for 5 minutes until combined, then increase to medium for another 8 minutes until smooth and elastic. Place in an oiled bowl, cover, and refrigerate overnight (12-24 hours). The next day, let it come to room temperature for 2 hours, then press into your oiled pan, creating deep dimples with your fingers. Add toppings and bake at 425°F for 20-25 minutes until golden brown.
Step 3: The Finishing Touches
As soon as it comes out of the oven, drizzle with more olive oil and sprinkle with flaky sea salt. Let cool for 10 minutes before slicing.
Substitutions & Variations
- Swap fresh herbs for 1 tablespoon dried Italian seasoning - Use roasted cherry tomatoes instead of garlic - Make it gluten-free using a 1:1 gluten-free flour blend (though texture will vary)
What to Serve With (Pairings)
- Classic tomato basil soup - Fresh burrata with olive oil - A bold Italian red wine like Chianti
Chef-Level Pro Tips for Success
- Use filtered water at exactly 110°F for optimal yeast activation - Don't skimp on the dimpling - those holes collect the oil and create flavor pockets - Brush the pan with olive oil before AND after the first rise - Create a steam-rich environment by placing a pan of water on the bottom rack while baking
Common Mistakes to Avoid
- Don't rush the rise time - patience creates flavor - Never skimp on the olive oil - it's crucial for that authentic texture - Don't forget to season the dough well - bland focaccia is a culinary crime - Avoid opening the oven door during the first 15 minutes of baking
Storage and Reheating
Store at room temperature in an airtight container for up to 2 days. For longer storage, slice and freeze for up to 3 months. Reheat in a 350°F oven for 5-7 minutes until crispy and warm.
The Bottom Line
This focaccia recipe isn't just bread - it's your ticket to creating those Instagram-worthy, rustic Italian moments right in your kitchen. Don't be surprised if your house becomes the new neighborhood hangout spot!
Frequently Asked Questions
Can I make this without a stand mixer? Yes! You can mix and knead by hand for about 15 minutes until the dough becomes smooth and elastic. Why is my focaccia dense instead of airy? This usually happens when the dough isn't wet enough or hasn't proofed long enough. Remember, this is a high-hydration dough - it should be quite sticky. Can I make this ahead of time? Absolutely! The dough can stay in the fridge for up to 48 hours before baking, which actually improves the flavor.


