
Decadent Hazelnut Praline
Picture this: delicate shards of golden-amber sweetness that shatter with a satisfying crack, revealing perfectly toasted hazelnuts suspended within. In just 20 minutes, with four simple ingredients, you can transform raw hazelnuts into a buttery, caramelized French confection that'll make your taste buds sing. This classic praline-making technique dates back to 17th-century French kitchens, where confectioners first discovered the magic of caramelizing nuts in sugar.
Why This Luxury Dessert Works Perfectly
The secret lies in the Maillard reaction between the proteins in hazelnuts and the caramelizing sugar. As the sugar melts and turns amber, it coats each toasted hazelnut perfectly, creating complex flavor compounds that give praline its signature nutty-sweet profile.
Essential Equipment Summary
- Heavy-bottom saucepan
- Food processor (for crushing)
- Silicone baking mat or parchment paper
- Candy thermometer
- Wooden spoon
Ingredients You'll Need
- Hazelnuts - 2 cups, raw
- Granulated sugar - 1 cup
- Water - 1/4 cup
- Unsalted butter - 2 tablespoons
- Sea salt - 1/4 teaspoon (optional)
Step-by-Step Instructions
Step 1: Prep and Prime
Toast hazelnuts at 350°F (175°C) for 8-10 minutes until fragrant and skins begin to crack. Wrap in a kitchen towel and rub vigorously to remove skins. Line a baking sheet with your silicone mat or parchment paper.
Step 2: The Cooking Process
Combine sugar and water in your saucepan over medium heat. Don't stir! Let it bubble until it turns pale amber (about 8 minutes). Add butter and swirl to incorporate. When deep amber (320°F/160°C), quickly fold in hazelnuts and salt. Work fast - sugar hardens quickly!
Step 3: The Finishing Touches
Pour mixture onto prepared sheet, spreading quickly into a thin layer. Let cool completely (15-20 minutes) before breaking into pieces or processing for a finer texture.
Substitutions & Variations
- Swap hazelnuts for almonds or macadamia nuts - Add 1/2 teaspoon vanilla extract for depth - Drizzle with dark chocolate for extra decadence
What to Serve With (Pairings)
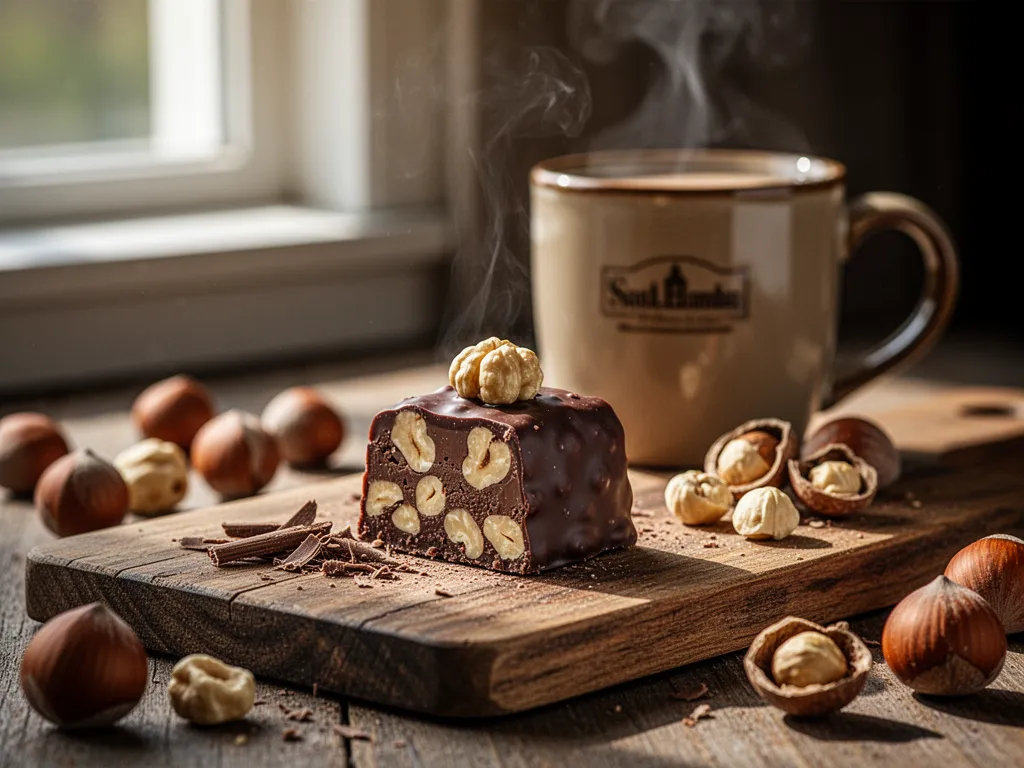
- Fresh espresso or dark roast coffee - Vanilla bean ice cream - French pressed hot chocolate
Chef-Level Pro Tips for Success
- Keep a pastry brush dipped in water handy to brush down sugar crystals - Never stir the caramel - swirl the pan instead - Have all ingredients measured and ready before starting - Work in a humidity-free environment for best results
Common Mistakes to Avoid
- Stirring the caramel (causes crystallization) - Walking away from the stove (sugar burns quickly!) - Using wet or cold utensils (causes seizing) - Not having everything prepped beforehand
Storage and Reheating
Store in an airtight container with parchment between layers for up to 2 weeks. Keep in a cool, dry place - never refrigerate as moisture will make it sticky. No reheating needed; praline is best enjoyed at room temperature.
The Bottom Line
Creating praline might seem intimidating, but with these precise steps, you'll master this French classic in no time. It's the perfect handmade gift or show-stopping dessert garnish. Give it a try and tag us in your creations!
Frequently Asked Questions
Can I make praline ahead of time? Yes! It keeps beautifully for up to 2 weeks when stored properly. Why did my caramel crystallize? Crystallization usually happens from stirring or sugar crystals on the pan's sides. Use the water-brush technique and avoid stirring. Can I skip the thermometer? While possible, a thermometer ensures perfect results. Watch for deep amber color if working without one.


