
Classic Opera Cake Slice
Classic Opera Cake Slice: A Symphony of Coffee, Chocolate & Almond
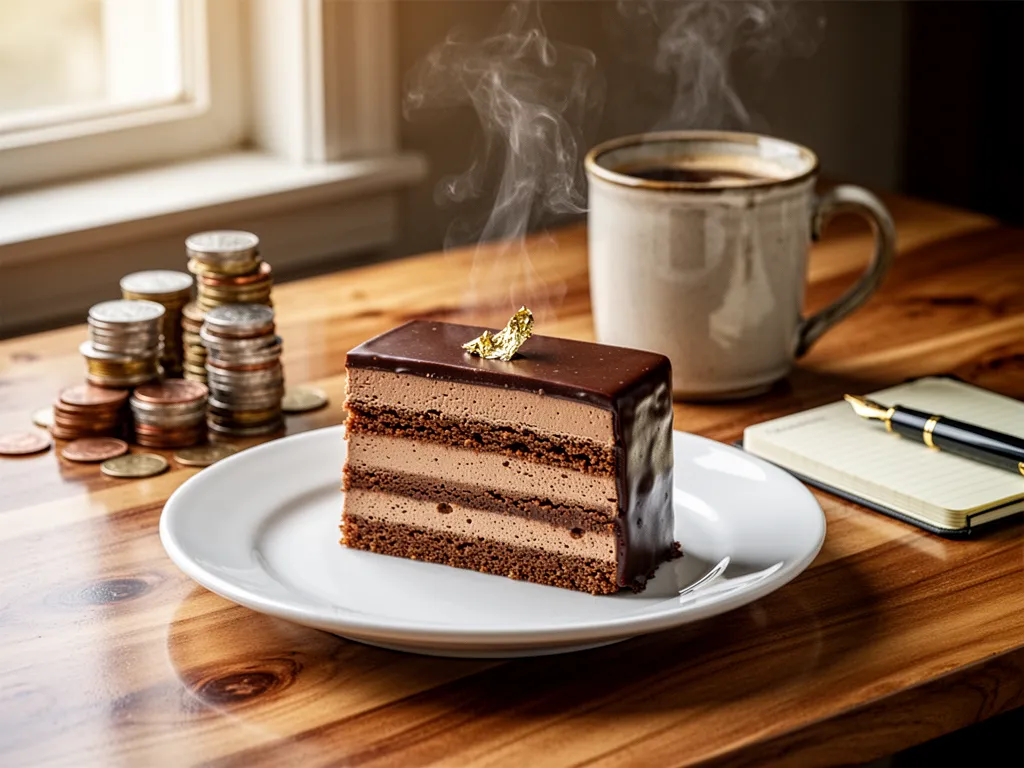
The first time I encountered an authentic Opera Cake, I was sitting in a tiny Parisian café near the Marais district. The waiter presented a perfectly rectangular slice, its mirror-like chocolate glaze reflecting the warm afternoon light. Each impossibly thin layer revealed itself like sheets of edible art – coffee-soaked almond sponge, silky buttercream, and dark chocolate ganache stacked with architectural precision. That moment changed my understanding of what a cake could be.
This classic French pastry, believed to have originated at the famous Dalloyau house in Paris during the 1950s, pays homage to the grand Paris Opera House. Each component requires patience and attention to detail, from the delicate joconde sponge to the coffee-infused syrup that transforms ordinary cake layers into something extraordinary. When you cut through a slice, you'll discover six distinct layers working in perfect harmony – much like the musicians in an orchestra performing a beloved symphony.
While creating an Opera Cake at home might seem daunting, I've spent years perfecting this recipe to make it accessible for passionate home bakers. The key lies in breaking down the process into manageable steps and understanding how each element contributes to the final masterpiece. You'll need a sharp pastry knife and some patience, but the result – those perfectly defined layers and the interplay of coffee, chocolate, and almond – makes every minute worthwhile.
Why This Recipe Works
The magic of Opera Cake lies in its carefully balanced flavors and textures. The almond-rich joconde sponge provides a light, flexible base that soaks up the coffee syrup without becoming soggy. This creates a foundation that's both structurally sound and deeply flavorful. Meanwhile, the dark chocolate ganache offers bitter notes that cut through the sweetness of the French buttercream, while the coffee syrup adds depth and complexity that ties everything together. It's this interplay of bitter and sweet, soft and firm, that makes each bite an adventure.
Through countless test batches, I've discovered that temperature control is crucial for success. The buttercream needs to be just right – too cold and it won't spread evenly, too warm and you'll lose the definition between layers. The ganache requires careful tempering to achieve that glossy finish that makes Opera Cake instantly recognizable. Every component plays its part in creating a dessert that's greater than the sum of its parts.
Ingredient Spotlight
The quality of your ingredients will make or break your Opera Cake. For the chocolate elements, reach for premium dark chocolate with 70% cocoa content – I've found that anything less creates a ganache that's too sweet and lacks the sophisticated bitter notes we're after. When selecting almonds for the joconde sponge, blanched and finely ground almonds are essential. Pre-packaged almond flour can work, but freshly ground almonds provide a more intense flavor and better texture. The coffee syrup demands a strong, high-quality espresso – this isn't the time for instant coffee.
Butter quality is particularly crucial for the French buttercream. I recommend using European-style butter with at least 82% butterfat content. The higher fat percentage creates a more stable emulsion and provides that luxurious mouthfeel that's characteristic of fine French pastries. For the eggs, which play a vital role in both the sponge and buttercream, always choose fresh, room-temperature eggs. Cold eggs won't whip to the same volume, and you'll lose the crucial air bubbles that give the joconde its distinctive light texture.
Ingredients You'll Need
- For the Joconde Sponge:
- 6 large eggs, room temperature
- 200g blanched ground almonds
- 200g powdered sugar
- 50g all-purpose flour
- 3 egg whites (additional)
- 30g granulated sugar
- For the Coffee Syrup:
- 240ml strong espresso
- 100g granulated sugar
- For the French Buttercream:
- 250g European-style butter (82% fat)
- 4 egg yolks
- 150g sugar
- 60ml water
- 15ml coffee extract
- For the Chocolate Ganache:
- 200g dark chocolate (70% cocoa)
- 200ml heavy cream
Essential Equipment
Success with Opera Cake demands precision tools. A serrated pastry knife is crucial for achieving those clean, defined layers without compression. You'll need three half-sheet pans lined with silicone mats or parchment paper for the joconde layers. A candy thermometer is non-negotiable for the French buttercream – accuracy here is essential for food safety and achieving the proper consistency. A stand mixer with both paddle and whisk attachments will make the process significantly easier, particularly when preparing the meringue and buttercream. Finally, an offset spatula is vital for achieving those perfectly even layers that make Opera Cake so visually striking.
Step-by-Step Instructions
Step 1: Preparing the Joconde Sponge
Begin by preheating your oven to 425°F (218°C). The sound of your stand mixer whirring to life signals the start of this culinary journey. In the bowl, combine the ground almonds and powdered sugar, mixing until they become one homogeneous powder. The aroma of fresh almonds should be prominent – this is a good sign that your almonds are fresh and properly ground.
Add the whole eggs one at a time, beating until the mixture becomes pale and incredibly thick – about 5 minutes. You'll know you've reached the right consistency when the batter falls in ribbons that hold their shape for several seconds before dissolving back into the mix. The transformation is dramatic: from a dense, grainy mixture to a light, airy mass that's nearly tripled in volume. Gently fold in the flour, taking care not to deflate the mixture. In a separate bowl, whip the egg whites to soft peaks, gradually adding the granulated sugar until you achieve stiff, glossy peaks that smell sweet and clean.
Step 2: Baking the Sponge
Divide your batter evenly among the prepared sheet pans, using an offset spatula to spread it into impossibly thin, uniform layers. The key is to maintain consistent thickness – about 1/4 inch – across all three sheets. As you smooth the batter, you should hear the subtle sound of the spatula gliding across the surface, creating a silk-like finish. The batter should look like liquid velvet, spreading easily but holding its shape.
Place the pans in the preheated oven and watch carefully – these delicate layers bake quickly, usually in 5-7 minutes. Your kitchen will fill with the intoxicating aroma of toasting almonds and vanilla. The sponges are done when they're lightly golden and spring back when touched gently. You'll notice the edges starting to pull away from the sides of the pan – this is your visual cue. Don't let them brown too much, or they'll become brittle and difficult to handle.
Step 3: Making the Coffee Syrup and Buttercream
While the sponges cool, prepare your coffee syrup. The rich aroma of freshly brewed espresso should fill your kitchen as you combine it with sugar in a small saucepan. Heat until the sugar dissolves completely – you'll hear a gentle simmer and see the liquid become clear and glossy. The syrup should coat the back of a spoon and have the consistency of thin honey when ready. Let it cool to room temperature; the scent will intensify as it cools.
For the French buttercream, begin by heating sugar and water in a saucepan until it reaches exactly 240°F (116°C) – the soft-ball stage. Meanwhile, whip your egg yolks until they're pale and thick. You'll hear the mixer working harder as the yolks become more voluminous. When the sugar syrup is ready, carefully pour it in a thin stream into the whipping yolks. The mixture will make a distinctive splashing sound as it incorporates, and you'll see the color transform from bright yellow to pale cream. Continue beating until the bowl feels cool to the touch, then gradually add the softened butter, piece by piece, until you have a silky, coffee-scented buttercream.
Substitutions & Variations
While traditionalists might balk, several thoughtful adaptations can make this classic more accessible. Replace the ground almonds with finely ground hazelnuts for a sophisticated Parisian twist - the subtle nuttiness pairs beautifully with the coffee notes. For those avoiding alcohol, substitute the traditional rum in some recipes with an equal amount of vanilla extract combined with a splash of almond extract. A modern interpretation includes replacing the coffee syrup with matcha syrup and the dark chocolate ganache with white chocolate-matcha ganache for an elegant green tea Opera Cake that's particularly striking on the plate.
Chef-Level Pro Tips
- Temperature control is crucial - ensure all ingredients are at exactly room temperature (68-72°F) before beginning. This affects emulsification and prevents the dreaded "curdled" appearance in your buttercream.
- When applying the ganache, chill each layer for exactly 7 minutes between applications. This creates the signature sharp edges without allowing the cake to become too firm.
- Use a ruler when cutting your final portions - professional pastry chefs cut Opera Cake slices precisely 2.5 inches wide by 1.5 inches tall for the perfect ratio of layers.
- Warm your serrated knife in hot water and wipe clean between each cut for those pristine, photogenic layers that define a true Opera Cake.
Troubleshooting: Common Mistakes to Avoid
The most frequent pitfall occurs during the buttercream preparation. If your mixture appears curdled or separated, it's likely due to temperature inconsistency. The butter must be at precisely room temperature - not too soft, not too firm. If separation occurs, warm the bowl gently over a bain-marie while whisking continuously until it emulsifies properly. Never rush this process; patience is crucial for achieving that signature silky texture.
Another critical issue arises with the joconde sponge layers. Over-mixing after adding the flour can lead to tough, chewy layers that crack when assembled. The moment you see the flour incorporated, stop mixing. Additionally, if your layers are uneven, they'll create a domino effect of problems during assembly. Use a digital scale to weigh the batter for each layer, ensuring perfect uniformity.
Storage and Reheating
Opera Cake actually improves with 24 hours of refrigeration, allowing the flavors to meld and the textures to settle. Store it in an airtight container in the refrigerator for up to 5 days. For the best experience, remove it from refrigeration 30 minutes before serving to allow the buttercream to soften slightly. The cake can also be frozen for up to 2 months when wrapped carefully in plastic wrap and foil. Thaw overnight in the refrigerator, never at room temperature.
The Bottom Line
Mastering Opera Cake represents a true milestone in any baker's journey. While the process demands precision and patience, the result is an extraordinary dessert that showcases the pinnacle of French patisserie. Each perfectly executed layer tells a story of technical skill, while the harmonious blend of coffee, chocolate, and almond creates a symphony of flavors that justifies every minute of effort.
Frequently Asked Questions
Can Opera Cake be made ahead for special occasions?
Yes, Opera Cake is ideal for advance preparation. Make it 2-3 days before your event and store it in the refrigerator. The flavors will actually develop and improve during this time, making it taste even better.
Why is my buttercream grainy or separated?
Grainy or separated buttercream usually occurs when ingredients are at different temperatures. Ensure all components are at room temperature (68-72°F) and that your sugar syrup reaches exactly 240°F. If separation occurs, warm the bowl gently while whisking until smooth.
Can I make Opera Cake without coffee?
While coffee is traditional, you can create variations using other flavors. Popular alternatives include matcha green tea syrup, raspberry liqueur, or pure vanilla. Just ensure your substitution maintains the same liquid ratio to preserve the cake's texture.
What's the secret to getting clean, sharp layers?
The key to perfect layers is proper temperature control and technique. Chill each layer for 7 minutes between assembly steps, use a sharp serrated knife warmed in hot water, and wipe the blade clean between each cut. A ruler helps ensure even, professional-looking portions.


